How to Upgrade Your Mini PC In Simple Steps?
Mini PCs are the epitome of functionality. A laptop’s compactness and a desktop’s features offer the best of both worlds. Due to constant miniaturization and improved performance, there has been an increasing rise in their popularity over the last few years, with an expectancy to grow at a compound annual growth rate of over 5% till 2032. However, a common question among users remains whether their mini PC can be upgraded to perform even better. This blog is here to tell you, yes, and teach you how to upgrade a mini PC to maximize its potential.
Your PC But Better
While the mini PC has multiple outstanding features, the added perks of upgrading are undeniable. What doesn’t need a little external boost? Besides, adding certain accessories and improvements can also help customize your PC more to your likes. With only a few attachments, you can achieve an overall improved performance, extended lifespan, and enhanced functionality for your upgradable mini PC. In general, upgrade options for mini PCs comprise a few standard options.
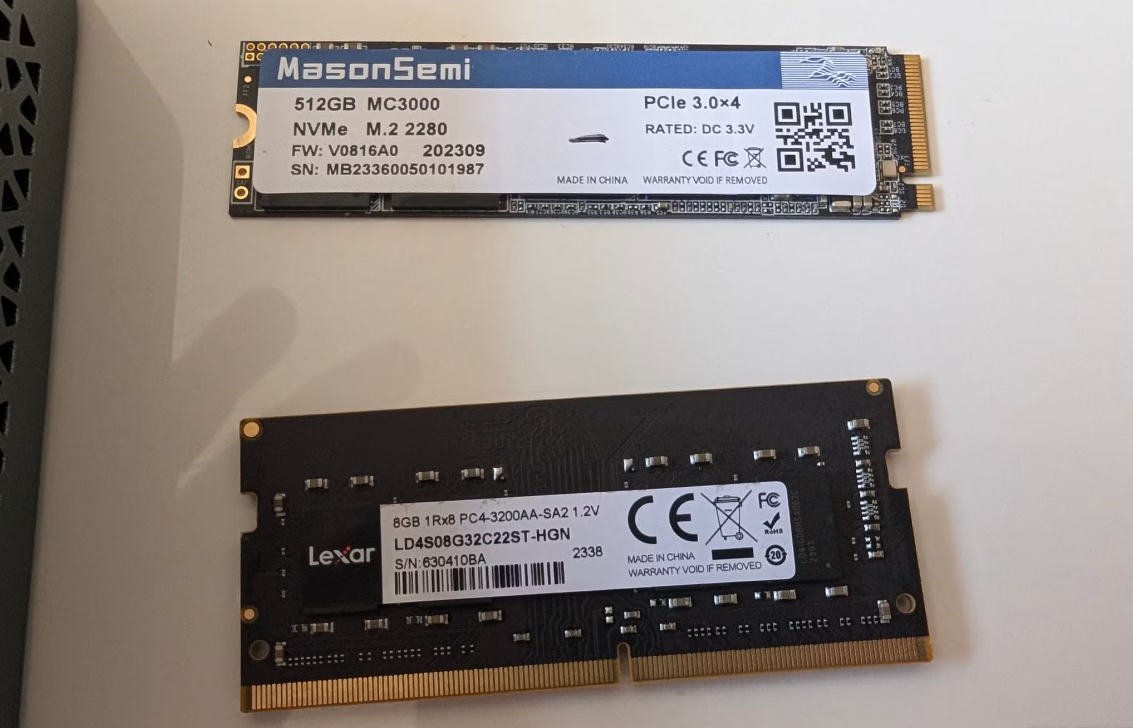
RAM
More RAM space turns your mini PC into a lightning-fast machine. Whether you want to perform processor-heavy functions like gaming or video editing or simply watch a movie, your mini PC will multitask like a pro.
Storage Options
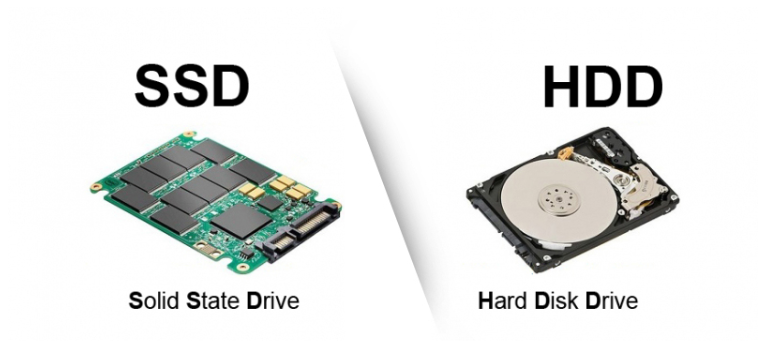
An extra Solid-state drive (SSD) or hard disk drive (HDD) considerably improves overall performance by increasing storage space and reducing loading time for heavier applications.
Wireless Cards
A more powerful Wi-fi card offers faster and better internet, speeding up all your internet searches and reducing the number of lags.
Operating System
Keeping your operating system up to date improves PC performance and battery life. Moreover, with some mini PCs, you can switch operating systems according to your preference.
Not All Mini PCs Are Built the Same
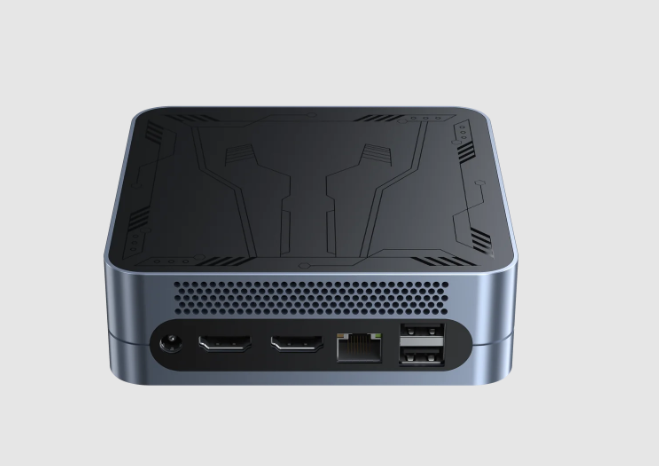
However, it is important to note that not all mini PCs are upgradeable. Only the mini PCs with accessible RAM slots, removable storage devices, and modular designs possess the quality to be upgraded. Some examples of such computers include the Beelink mini PCs and the Chuwi CoreBox Series.
On the other hand, the mini PCs that come with soldered components or fanless designs are more limited in their upgradeability due to either inaccessibility or more permanent parts. So, before you decide on the upgrades for your mini PCs, check your computer’s specifications and manufacturer’s guidelines regarding upgrade options.
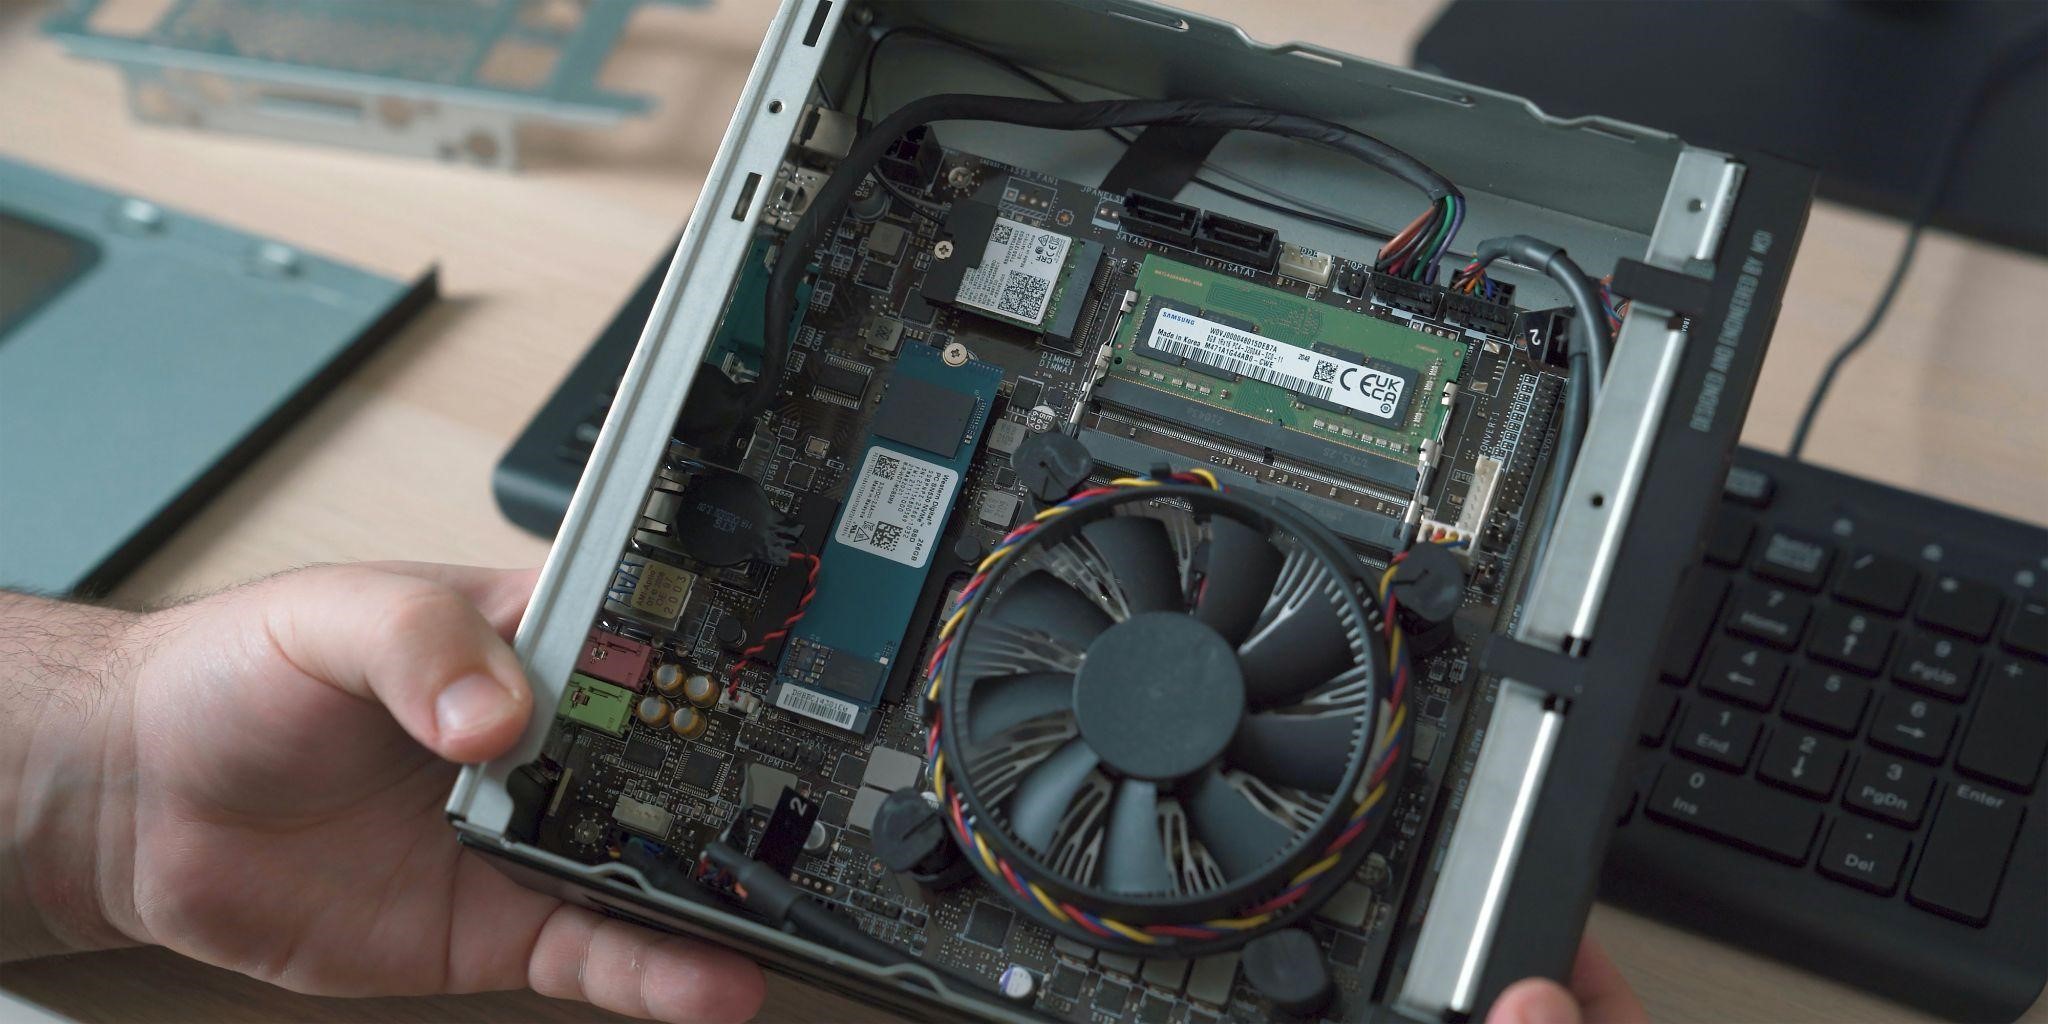
Upgrading 101
Mini PCs have the freedom of upgradability due to their compact design. Once you have consulted the manual or manufacturer’s website to identify the upgradeable components for your mini PC, the rest of the process goes smoothly. As intimidating as it feels to the newbie, it is simply like changing out your home lightbulb. Let’s follow a step-by-step guide on achieving your dream upgrade without external help.
Equipment
First things first, any worker is only as good as his tools. To carry out your dream upgrades, you will need a basic set of tools and an understanding of how to work them.
- A screwdriver.
- A static-safe wrist strap.
- And the new components you need to fit in.
This makes up an ideal list for anyone, fresher or experienced. The wrist strap protects your other components from electric discharge while you work with your screwdriver and adjust the new upgrade on your mini PC.
RAM Upgrade
- Start by switching off your mini PC and unplugging all cables.
- Use the screwdriver to unscrew the case and open it up.
- Look around to find the RAM slots, and carefully release them by pressing the clips on the sides.
- Remove your new RAM module and gently place it in place of the old RAM until you hear a click.
- Screw the case back on. Power on the mini PC and test out the upgrade on your operating system.
Storage Upgrade
- Start by switching off your mini PC and unplugging all cables.
- Use the screwdriver to unscrew the case and open it up.
- Locate the existing storage drive and carefully unscrew it out of position. Disconnect the data cables to remove the drive.
- Bring out your new drive and screw it into place. Reconnect all data and power cables.
- Put the case back together, turn on your mini PC, and test out your new extra storage space.
What Could Go Wrong?
To ensure the upgrading process goes smoothly, there are a few key pointers you might want to note before, during, and after the installation process.
Before upgrading, ensure the new components are compatible with your mini PC. Remember to make backups of your data before starting the process.
Use high-quality components so a malfunction does not occur. The same rule applies to tools. A good screwdriver and wrist strap ensure the process goes smoothly without any mishaps.
Ensure all the power cables are removed before getting started, and all the data cables are properly reinstalled after the upgrade. After a major hardware change, sometimes your mini PC might require an operating system upgrade. Matching the system with the hardware is essential for a seamless experience on your mini PC.
Conclusion
While upgrading your computer isn’t necessary, it can transform your mini PC in many ways. They can improve performance and functionality and be customized according to individual needs.
All it takes is to decide where to enhance the features, whether the RAM you need is extended or the storage increased. Make an upgrade compatible with your device and needs, and make the change! As simple as that.